

A well-structured Zendesk instance is more than a support tool. It is the foundation for a high-performing, efficient support operation. When set up correctly, Zendesk reduces manual work, improves response times, and enhances both agent productivity and customer satisfaction.
Step-by-Step Guide to Building a Scalable Zendesk Instance
Here’s a Step-by-Step Guide to Building a Scalable Zendesk Instance, ideal for teams aiming to grow without chaos:
Step 1: Define Support Channels & Entry Points
Decide where your customers can reach you: email, chat, phone, social media, or web forms. Enable only what’s necessary and ensure each channel has its workflow and SLAs.
Step 2: Organize Ticket Forms & Fields
Create customized ticket forms for different request types (billing, product issue, general inquiry). Use conditional fields and required inputs to improve routing and agent efficiency.

Step 3: Build Groups, Roles & Permissions
Set up agent groups by department (e.g., Support, Billing, Tier 2). Define roles to control access levels, what each team can see, edit, or manage in Zendesk.
Step 4: Configure SLAs & Business Hours
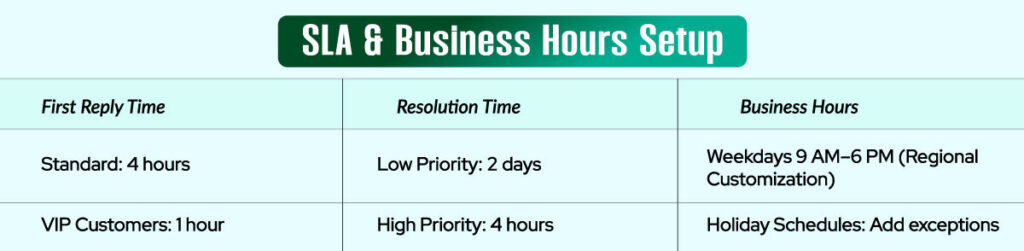
Establish service level agreements for response and resolution times. Add business hours and holiday schedules per region or team.
Step 5: Automate with Triggers, Macros & Views
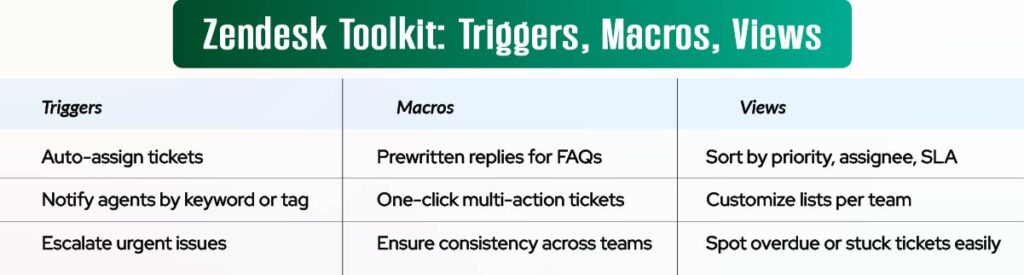
- Triggers: Automate ticket assignments, priority changes, or notifications
- Macros: Provide agents with pre-written responses for common issues
- Views: Customize ticket lists by team, priority, or channel
Step 6: Deploy Help Center with Zendesk Guide
Launch a self-service portal with knowledge base articles. Organize content by topic, and continuously update based on ticket trends.
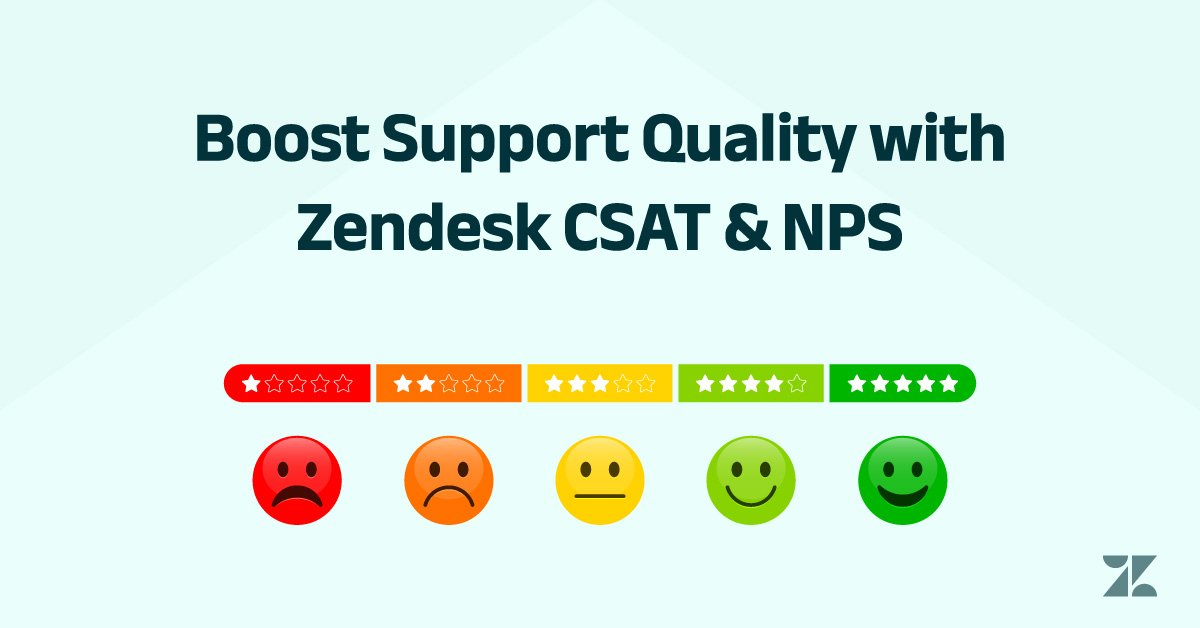
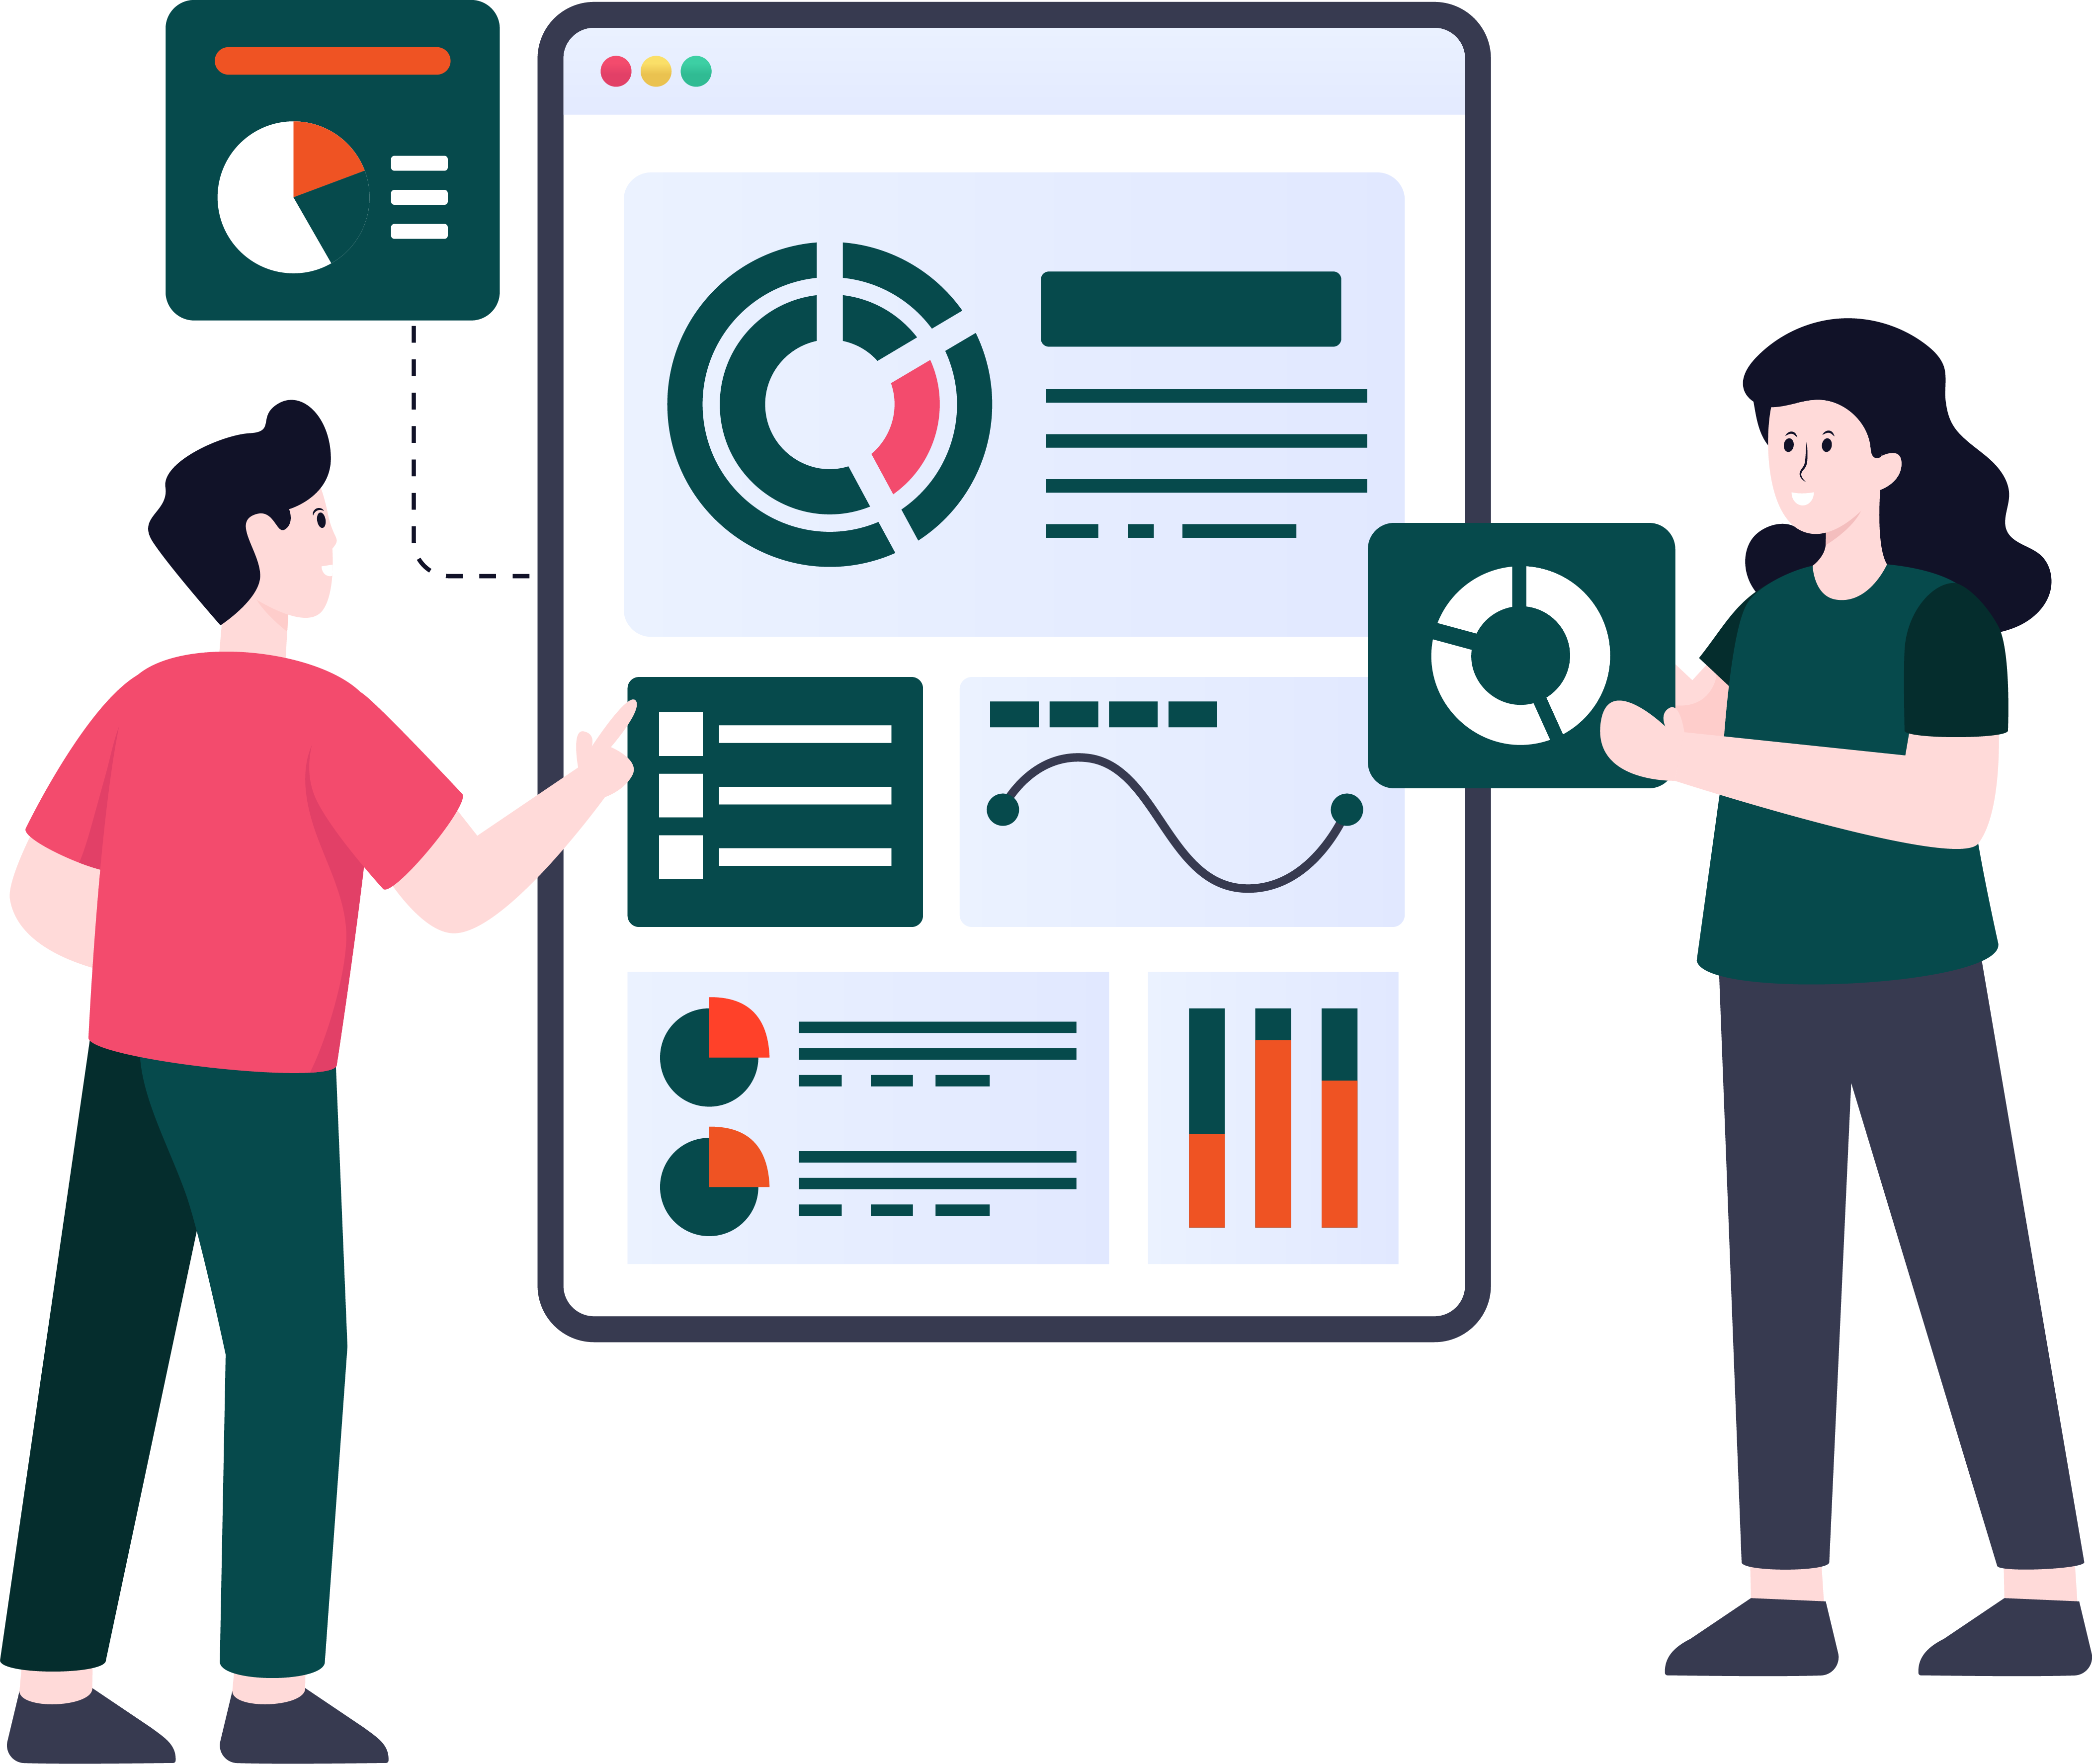
Step 7: Activate Reporting with Zendesk Explore
Use pre-built dashboards to monitor agent productivity, ticket volume, CSAT scores, and SLA breaches. Set up scheduled reports for leadership.
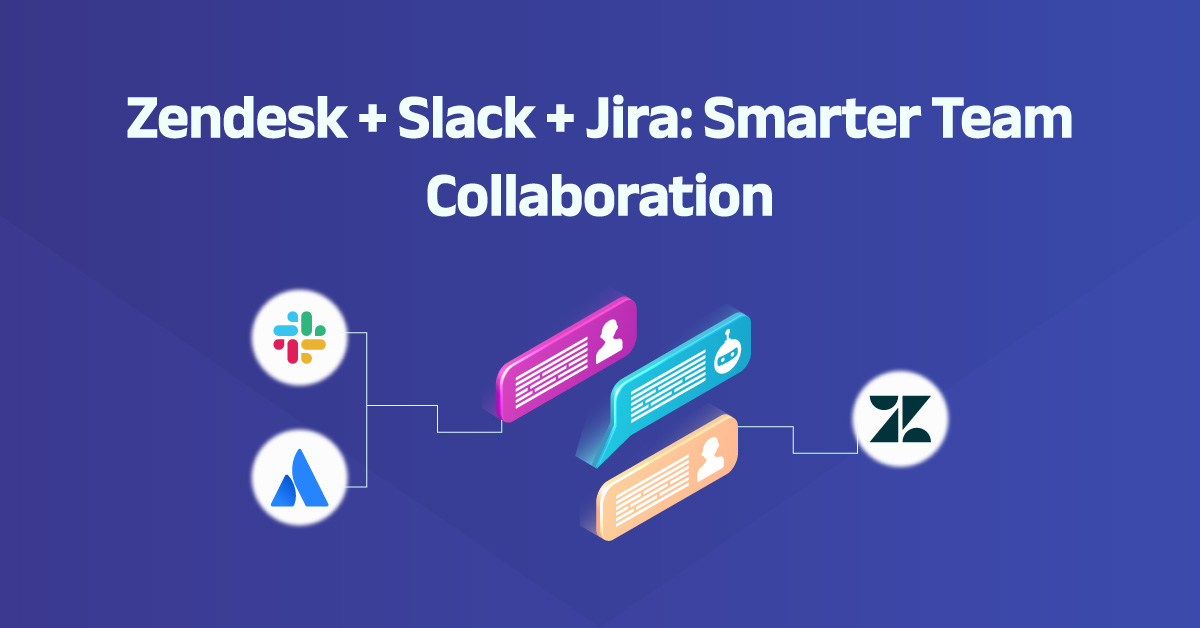
Step 8: Integrate Key Tools
Connect Zendesk with your CRM, Slack, Jira, Shopify, or any relevant tools to unify customer data and workflows.
Step 9: Pilot Before Scaling
Start with a small team or product line. Gather feedback, refine processes, and roll out in phases to ensure adoption and data integrity.
Step 10: Train & Empower Your Agents
Use Zendesk training sessions, shadowing, and certification tools to help your team master the platform. Set up internal documentation to guide workflows.
Want to launch Zendesk the right way? As your Zendesk Consultant, we’ll help you structure workflows, configure triggers and macros, and roll out support teams with confidence. Let’s build a help desk that scales with your business and delights every customer along the way. Schedule your Zendesk setup consultation today.