
Today’s customers don’t limit themselves to a single support channel. They might start with a website chat, follow up on mobile messaging, and call in if they still need help. They expect you to keep track of these interactions so they never have to repeat themselves.
Zendesk Omnichannel Support combines Chat, Messaging, and Talk into a single, unified workspace, providing agents with complete conversation histories and ensuring a consistent customer experience across all channels. This guide walks you through setting up each tool step-by-step, with tips to make your omnichannel support not only possible but seamless.
Why Omnichannel Matters in Customer Support?
Customers now use an average of three to five channels to interact with brands. Without a unified system, conversations become fragmented, agents waste time hunting for information, and customers get frustrated when they have to repeat themselves.
Omnichannel support in Zendesk solves this by:

- Unifying all conversations into a single ticketing workspace.
- Keeping context intact across web, mobile, and phone channels.
- Allowing agents to respond from one interface, regardless of origin.
- Enabling automation and routing across all channels.
With the right setup, you can increase First Contact Resolution (FCR), reduce Average Handle Time (AHT), and boost Customer Satisfaction Scores (CSAT).
Configure Zendesk Chat for Real-Time Engagement

Zendesk Chat is your tool for instant, real-time conversations with customers on your website. Done right, it can increase conversion rates, reduce cart abandonment, and solve problems before they escalate.
Step 1: Embed the Chat Widget on Key Pages
Log in to your Zendesk Admin Center, navigate to Channels > Messaging and Social > Messaging, and select your brand. Copy the embed code for the widget and place it on strategic pages, such as product details, checkout, billing, and high-traffic landing pages.
Step 2: Create Proactive Chat Triggers
Go to Settings > Triggers within Zendesk Chat and define rules to automatically start conversations. For example:
- If a visitor spends more than 60 seconds on the pricing page, send: “Can I help you choose the right plan?”
- If someone is on the checkout page for more than 90 seconds, offer help: “Need assistance completing your purchase?”
Step 3: Route Chats to the Right Teams
Use department routing or group assignments so chats are sent to the most relevant agents. Pre-sales questions should be directed to your sales team, while technical support inquiries can be addressed to your product specialists.
Use tags in Chat to label conversations by topic for reporting and follow-up workflows.
Set Up Zendesk Messaging for Persistent Conversations
Zendesk Messaging elevates chat to the next level by enabling asynchronous communication; customers can initiate a conversation, leave, and return later without losing the thread. It works across web, mobile, and social channels like WhatsApp and Facebook Messenger.
Step 1: Enable Messaging for Your Brand
In the Admin Center, navigate to Channels > Messaging and Social > Messaging and select Add Channel. Choose whether to set up web messaging, mobile SDKs, or integrations with messaging platforms.
Step 2: Set Up a Messaging Bot
Zendesk’s Flow Builder lets you design automated conversational flows. Use the bot to:
- Answer FAQs automatically.
- Collect key details, such as the order number or account ID.
- Route inquiries to the correct department.
Step 3: Store Conversation History
Make sure the conversation history is linked to the customer profile in Zendesk. This allows agents to see prior chats and messages in context, whether the conversation started last week on mobile or five minutes ago on desktop.
Use automated tags in Messaging to categorize tickets for better routing and analytics.
Implement Zendesk Talk for Voice Support
Zendesk Talk integrates telephony directly into your support workspace, treating phone calls like any other ticket. This ensures that voice interactions are tracked, recorded, and tied to the customer’s history.
Step 1: Set Up Numbers and IVRs
In Admin Center > Channels > Talk, purchase a phone number or port an existing one. Create an IVR (Interactive Voice Response) menu to guide callers to the right agent group. For example: “Press 1 for Billing, 2 for Technical Support.”
Step 2: Configure Call Groups and Routing
Assign agents to specific call groups so calls are directed to the right people. Use overflow rules to route calls to backup groups if primary agents are unavailable.
Step 3: Enable Call Recording and Transcription
Recording calls helps with quality assurance and agent training. Enabling call transcription adds a text version of the conversation to the associated ticket, making it easy for other team members to review.
Set Talk triggers to create follow-up tasks automatically after missed or dropped calls.
Best Practices for Omnichannel Zendesk Setup

When combining Chat, Messaging, and Talk, the goal is to make channel switching invisible to the customer. Follow these best practices:
- Keep all channels enabled for the same hours unless you communicate different availability.
- Use consistent tagging conventions across all channels to ensure unified reporting and analysis.
- Train agents on handling multiple channels and using the conversation history effectively.
- Set up views in Zendesk that group tickets by channel for workload balancing.
Combine All Channels into a Unified Workflow
The real power of Zendesk’s omnichannel setup becomes apparent when Chat, Messaging, and Talk all converge into a single, continuous ticket lifecycle. For instance, a customer may initiate a chat on your website to ask about an order.
Later, they might leave the site but follow up through WhatsApp, which is connected to Zendesk Messaging. Finally, they may call in with a final question, and the Talk call transcript will automatically attach to the same ticket.
At every stage of this journey, the assigned agent can see the complete history of the interaction. They know precisely what has been discussed, which eliminates the need for the customer to repeat themselves. This continuity leads to faster resolutions, fewer miscommunications, and a higher overall satisfaction rate. The process feels seamless to the customer because Zendesk unifies all interactions under one roof.
Scale Your Zendesk Omnichannel Support
As your customer support volume increases, your Zendesk setup should evolve to meet new demands. Introducing AI-powered chatbots can help automate the handling of common queries, freeing up human agents to focus on more complex issues. Integrate CRM data into Zendesk to ensure agents have a comprehensive view of each customer’s history and preferences, alongside the conversation, enabling more personalized service.
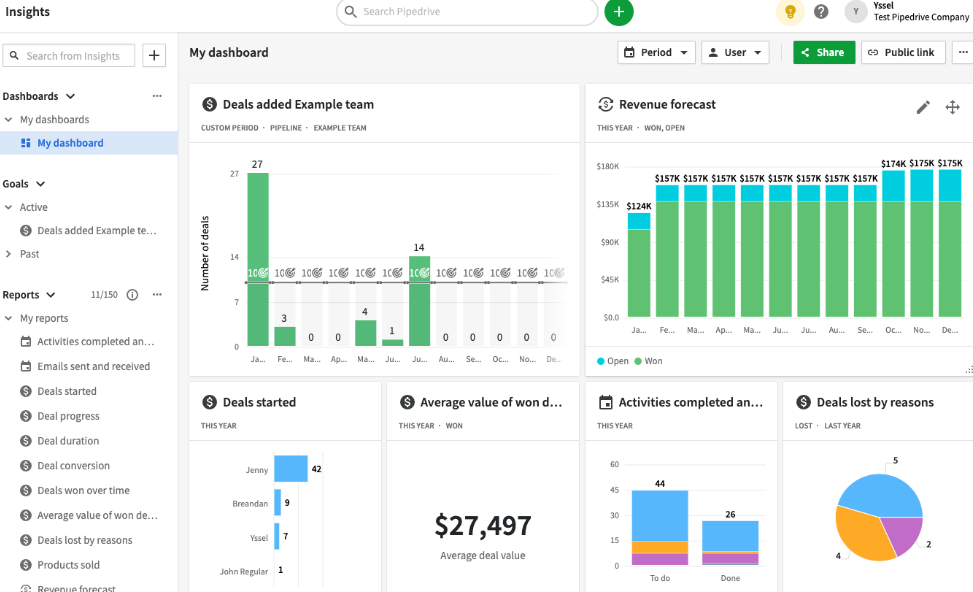
Analytics dashboards should be leveraged to track performance by channel and identify where workloads may need to be redistributed. Setting SLAs that apply consistently across all channels is essential for maintaining service quality and keeping response times in check.
Additionally, integrate Zendesk with tools like Slack, Jira, and Salesforce to streamline internal communication, automate ticket escalations, and keep cross-functional teams aligned in real time.
Conclusion
Zendesk Chat, Messaging, and Talk form the backbone of modern omnichannel customer support. By embedding Chat strategically, enabling Messaging for persistent, cross-platform conversations, and configuring Talk for high-quality voice support, you create a customer experience that’s seamless, efficient, and consistent.
When implemented well, these tools don’t just connect channels; they connect people, ensuring customers feel heard and valued at every stage of their journey.