Key Takeaways:
- Group-level ticket routing in Zendesk sends every incoming ticket to a defined team queue instead of one shared inbox, so ownership is clear from the first minute.
- Groups are the routing unit in Zendesk. Assign work to a group first and let agents or a lead claim individual tickets from there.
- Plan your group structure before you build triggers. Groups should reflect genuine differences in the work, not your org chart.
- Routing accuracy depends entirely on your ticket data. Clean drop-down fields, forms, and organization fields make reliable rules possible.
- Always create a catch-all fallback group so unmatched tickets never sit in an unowned queue.
- Treat routing as a living system. Review reassignment rates and group-level SLA performance every quarter and adjust.
Most Zendesk instances start the same way. Every email, chat, and form submission lands in one enormous unassigned view, agents scroll for something they recognize, and the tickets nobody wants quietly age past their first-reply target. Group-level ticket routing in Zendesk fixes that structurally. Instead of relying on agent goodwill, you decide in advance which team owns which type of request, and Zendesk delivers the ticket there automatically.
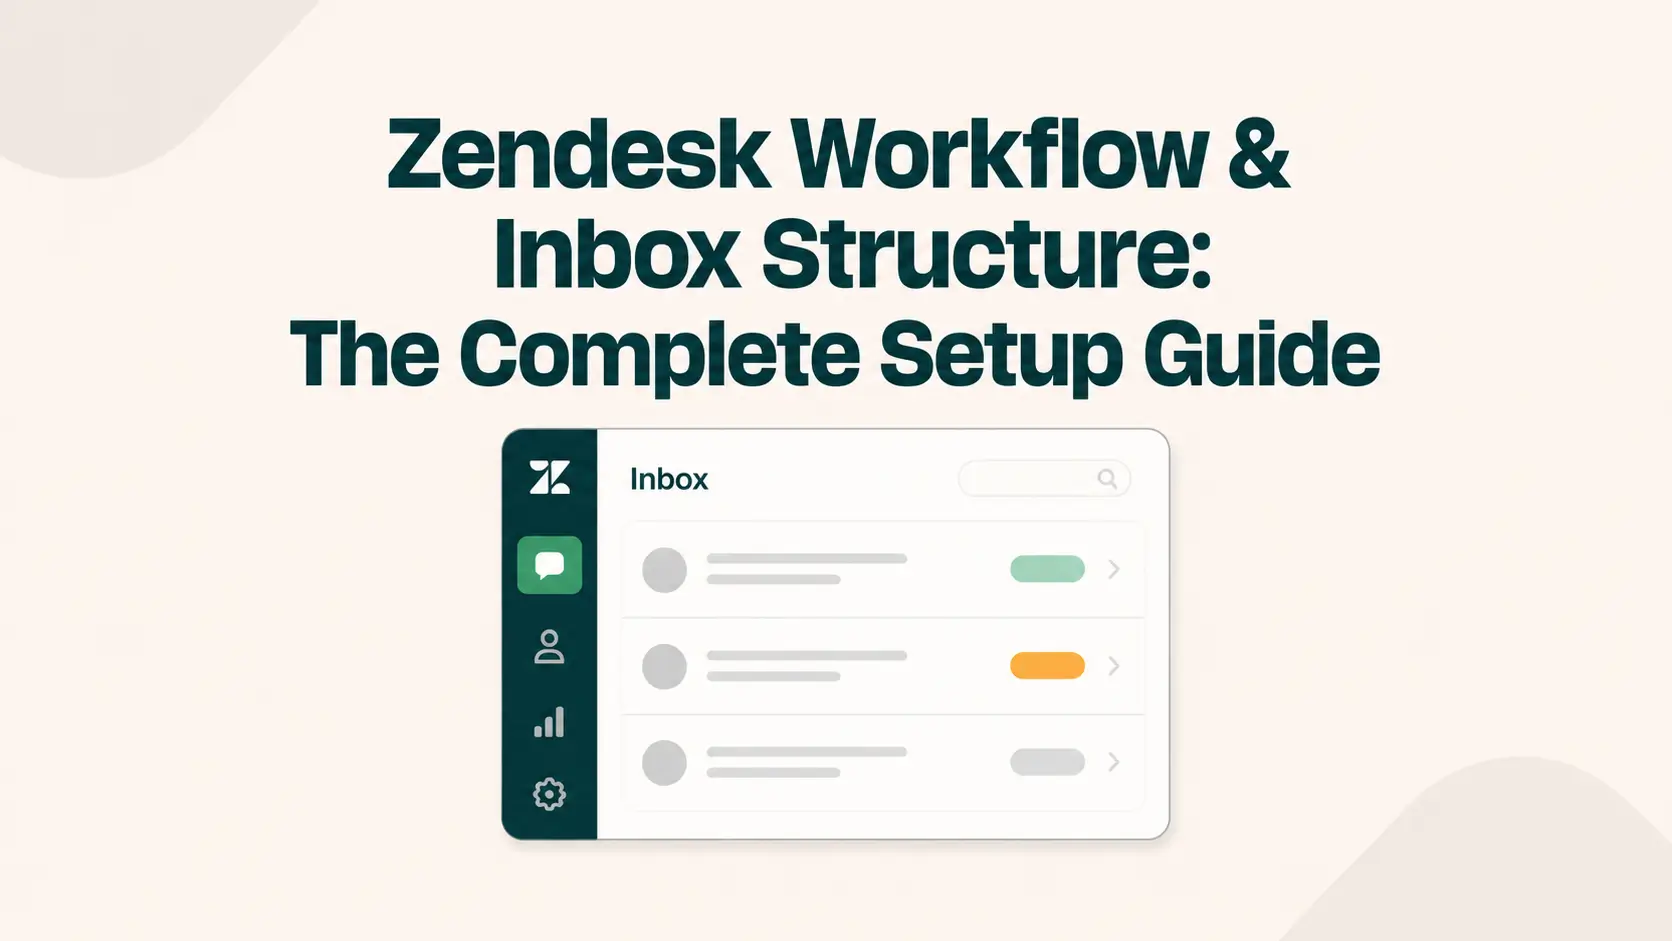
This guide walks through the full setup: how group routing actually works, how to design a group structure you won’t regret in six months, the fields and forms you need in place first, the step-by-step build inside Admin Center, and the advanced routing layers worth adding once the basics run cleanly. If you are building your queue architecture from scratch, read this alongside Zendesk Workflow & Inbox Structure: The Complete Setup Guide, which covers the wider inbox model this routing sits inside.
What is Group-Level Ticket Routing in Zendesk?
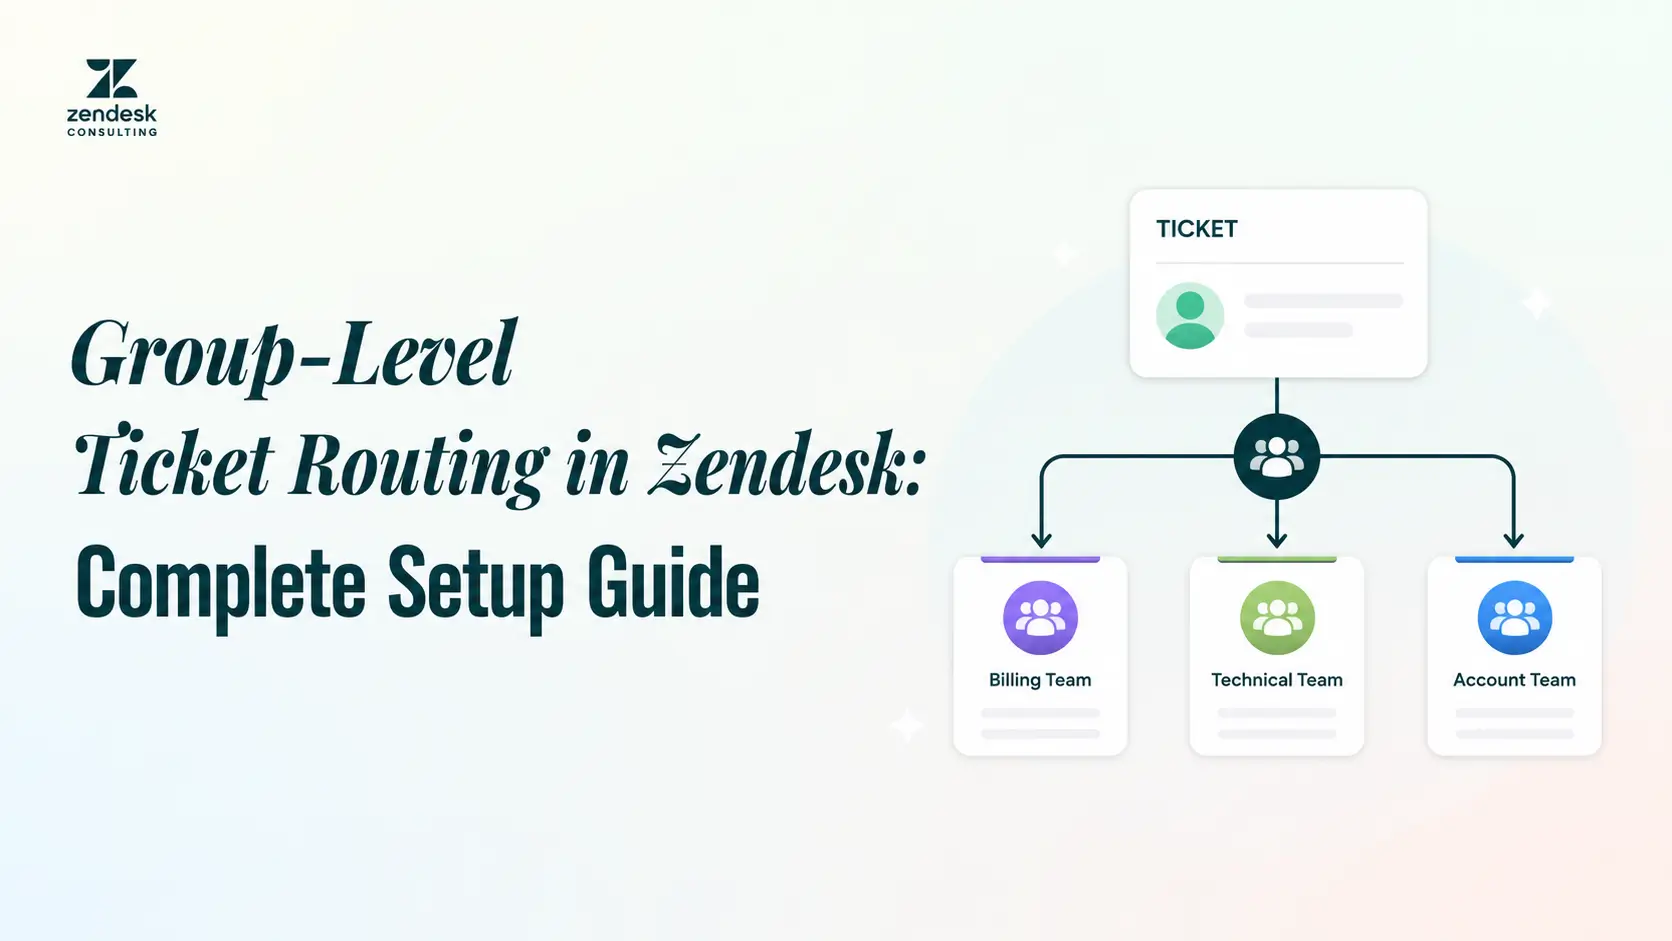
Group-level ticket routing in Zendesk is the practice of automatically assigning incoming tickets to a specific group of agents based on conditions such as the request type, channel, brand, language, or customer account. The ticket lands in that group’s queue, and only agents in that group see it in their working views.

A group in Zendesk is simply a named collection of agents. Billing, Tier 2 Technical, EMEA Support, and Enterprise Accounts are all groups. Routing rules read the data on a ticket and set the group field. Nothing else about the ticket changes, which is what makes group routing the safest and most durable foundation for a support workflow.
Group Assignment vs. Agent Assignment
Zendesk lets you assign a ticket to a group, to an individual agent, or to both. The distinction matters more than most teams realize.
Group assignment distributes work to a team and leaves the final pickup decision to humans or to a secondary rule. It survives absences, holidays, and staff turnover without breaking.
Agent assignment names one person as the owner. It is precise but fragile. Route directly to individuals too early and you will spend your weeks manually reassigning tickets belonging to whoever is on leave.
The reliable pattern is group first, agent second. Automate the group. Let agents claim, or add round-robin or skills logic on top once your group structure is stable.
Where Group Routing Fits in Your Wider Zendesk Workflow
Routing is one layer of a larger system. Ticket forms and fields capture the data, triggers act on it, groups receive the work, views present it, SLA policies hold it to a deadline, and macros speed up the reply. Change one layer carelessly and the others misbehave.
That interdependence is why routing works best when the surrounding structure is already deliberate. The Zendesk Workflow & Inbox Structure: The Complete Setup Guide maps how these pieces connect, and it is worth reviewing before you start creating groups.
Why Group-Level Routing Matters for Support Performance
Clear routing changes how a support team behaves, not just where tickets sit.
Ownership becomes unambiguous. When a billing dispute lands in the Billing group, no one debates whether it belongs to them. Diffused responsibility is the single biggest cause of aging tickets in shared queues.
First response times improve. Agents open a view containing only relevant work. They stop reading and skipping tickets that were never theirs, which removes a large amount of invisible daily waste.
SLA policies get realistic. A Tier 2 engineering investigation and a password reset should not share the same target. Group routing lets you apply different SLA policies to different groups so your metrics reflect the actual work.
Escalation paths become traceable. With defined groups, a Tier 1 to Tier 2 handoff is a recorded group change rather than an informal message that disappears.
Reporting gets useful. Group-segmented data shows you which team is genuinely under pressure. Volume in a single undifferentiated queue tells you almost nothing about where to add headcount.
Plan Your Group Structure Before You Build Anything
This is the step almost everyone skips, and it is the one that determines whether your routing lasts.
Groups should map to real differences in how work is handled: different skills, different tools, different systems access, different response expectations, or different languages. If two proposed groups would handle a ticket identically with the same people and the same knowledge, they should be one group with a tag or field to distinguish them.
Resist the urge to mirror your organizational chart. Reporting lines and support workflows rarely match, and groups built from the org chart tend to fragment queues without improving service.
Common Group Models
- By product or product line — sensible when supporting a product genuinely requires separate knowledge or system access.
- By support tier — Tier 1, Tier 2, and engineering escalation. The most common and usually the most valuable model.
- By region or language — necessary when coverage hours or language capability differ. Distributed teams have particular considerations, covered in Zendesk for high-performance remote support teams.
- By channel — worth separating only when a channel demands a fundamentally different working rhythm, such as live chat versus email.
- By brand — the standard model in multi-brand Zendesk accounts where each brand has its own agents or tone.
- By account segment — Enterprise, mid-market, and self-serve queues when contractual commitments differ.
Most mature setups blend two dimensions, typically tier plus region, or tier plus brand.
How Many Groups Should You Create?
Fewer than you think. A useful test: every group needs enough steady ticket volume to justify someone watching its queue every working hour. If a group receives three tickets a week, it does not need to exist. Use a field or tag instead.
Over-segmentation creates thin queues that go unmonitored, multiplies the triggers you must maintain, and pushes agents into so many groups that group-based views stop filtering anything meaningfully.
Prerequisites: Fields, Forms, and Data That Make Routing Possible
Routing rules can only act on data the ticket actually carries. Get this layer right and your triggers become simple. Get it wrong and no amount of clever rule-writing will save you.
Put these in place first:
- Structured ticket fields. Use drop-downs and multi-selects for anything you intend to route on. Never route on free-text fields, since the values are unpredictable and rules will silently fail.
- Multiple ticket forms. Different forms for different request types are the cleanest routing signal available on web-submitted tickets, because the form itself identifies the category.
- Organization fields. Store account tier, contract level, or assigned region on the organization record so tickets inherit that context automatically without the customer having to declare it.
- User fields. Useful for language preference or named account ownership.
- Tags. Good for lightweight distinctions inside a group. Poor as a primary routing key when applied manually.
- Channel and brand signals. Both arrive on the ticket automatically and are reliable conditions.
For email-only intake, where structured fields are unavailable at submission, you will lean on the recipient address, the requester’s organization, and keyword conditions in the subject line. Keyword routing is inherently imprecise, so always pair it with a fallback group.
How to Set Up Group-Level Ticket Routing in Zendesk Step by Step
With your plan and data ready, the build itself is straightforward.
Step 1 — Create and Name Your Groups in Admin Center
In Admin Center, open the People section and create each group from your plan. Use names an agent can interpret instantly. “Tier 2 Technical” is clear. “Group B” is not. Naming discipline matters because these labels appear in views, triggers, SLA policies, and every Explore report you build later.
Step 2 — Assign Agents and Set Default Groups
Add agents to their groups and set each agent’s default group, which controls what they see when they log in. Agents can belong to multiple groups, and often should, but keep it purposeful. An agent in seven groups sees almost every ticket, which defeats the point of routing.
Confirm each group has adequate coverage across your support hours before you send live traffic to it.
Step 3 — Build Triggers That Assign Tickets to the Right Group
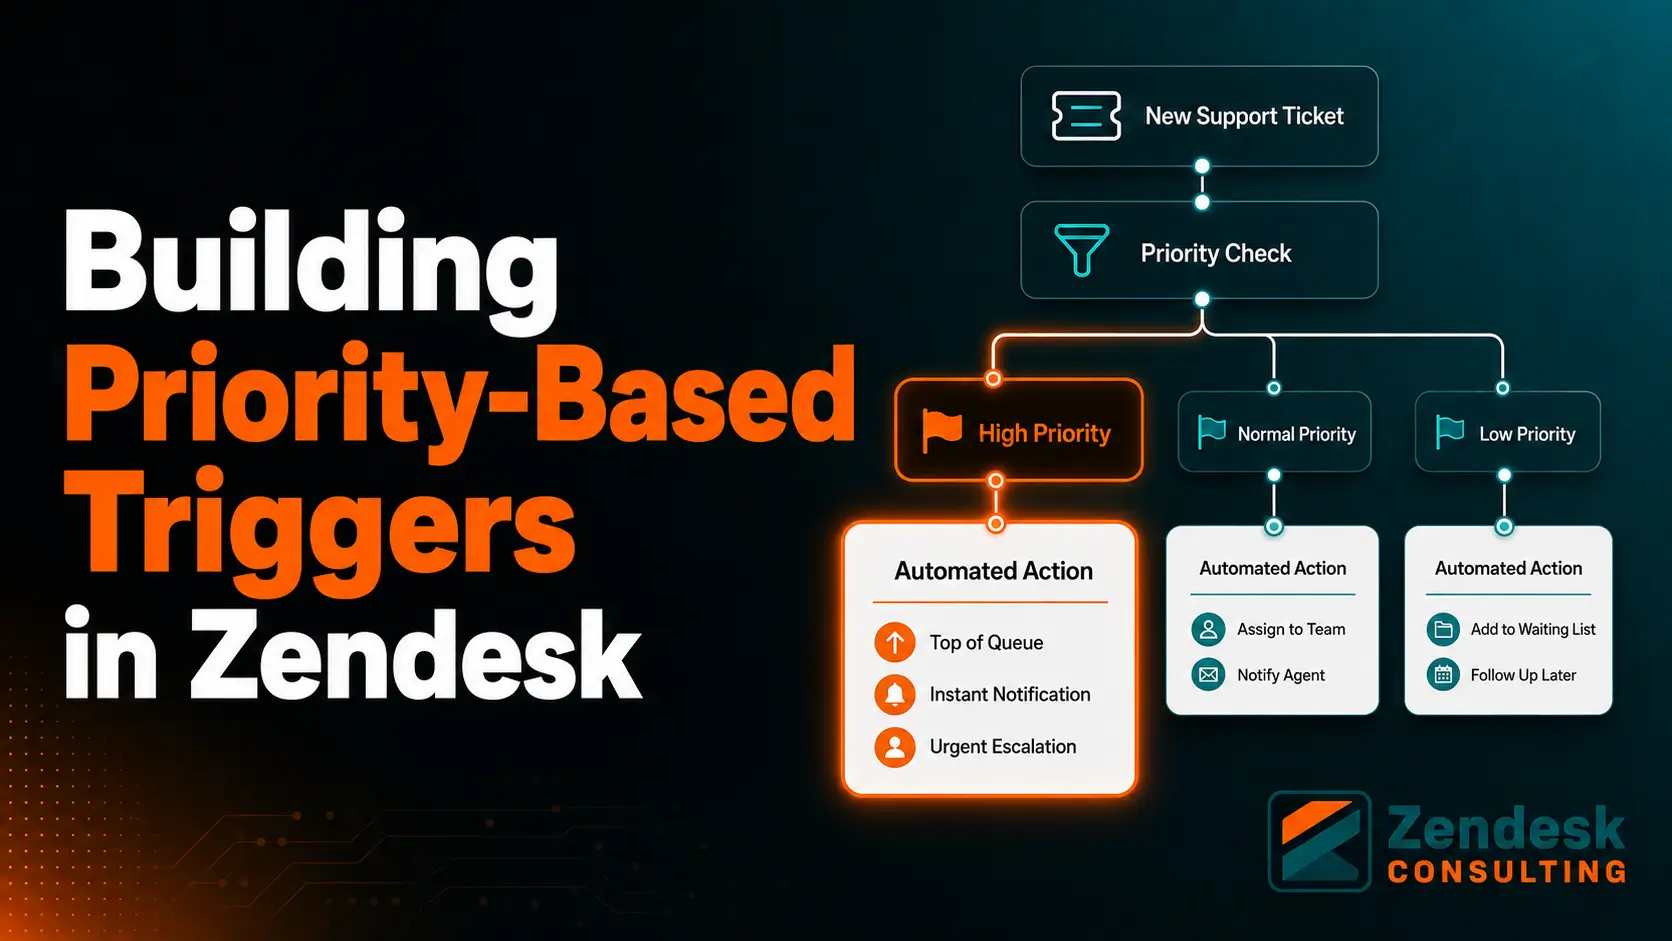
Triggers do the routing work. Each one fires on ticket creation, checks conditions, and sets the group.
A typical rule: when the ticket is created, and the ticket form is Billing Request, then set group to Billing.
Keep your triggers deliberate:
- Write one trigger per routing outcome rather than one sprawling trigger with many conditions.
- Order matters. Triggers run top to bottom, and a later trigger can overwrite an earlier group assignment. Place your most specific rules above your general ones.
- Add a final catch-all trigger that assigns anything unmatched to a designated triage group.
- Avoid conditions that overlap ambiguously. If two rules could both match the same ticket, decide explicitly which wins.
Once tickets reach the right group, response speed becomes the next lever. Pair routing with group-specific macros so agents open a ticket and immediately have the right replies at hand. Speed up and personalize customer support with Zendesk macros covers how to build that library well.
Step 4 — Create Group-Specific Views So Agents See Only Their Queue
Routing without views is invisible. Build a view for each group filtered to that group with open and pending statuses, sorted by the priority that matters to that team, usually requester wait time or SLA breach risk.
Restrict view visibility to the relevant group. Then audit your existing views and archive the legacy “All Unsolved Tickets” style queues that encourage cherry-picking. Leaving them in place undermines everything you just built.
Step 5 — Attach SLA Policies and Escalation Paths
Apply SLA policies scoped by group so each team’s targets reflect its actual work. First-reply expectations for a frontline queue should differ from resolution targets for a deep technical investigation.
Then define what happens when a ticket needs to move. Escalation should be a documented group change with clear entry criteria, not an informal nudge. For a full framework, see build an escalation framework inside Zendesk.
Step 6 — Test With Real Ticket Scenarios Before Going Live
Before you switch on routing for everyone, submit test tickets covering every path you built: one per form, one per brand, one per language, one from an enterprise organization, and critically, one deliberately vague ticket that should hit your fallback group.
Verify the group assignment, the view it appears in, and the SLA applied. Then check your trigger order once more, because incorrect sequencing is the most common cause of routing that works in testing and fails in production.
Advanced Routing Options: Skills, Omnichannel, and Round-Robin
Group routing answers which team owns a ticket. It does not answer which agent, or in what order. Once your groups run cleanly, these layers add precision.
| Routing type | What it decides | Best used when |
| Group routing | Which team owns the ticket | Always. This is the foundation. |
| Skills-based routing | Which qualified agent within a group | Agents have genuinely different capabilities or languages |
| Omnichannel routing | Assignment based on agent availability and capacity across channels | You run live channels alongside email and need real-time balancing |
| Round-robin | Even distribution within a group | Work is broadly interchangeable and fairness matters |
Availability of skills-based and omnichannel routing depends on your Zendesk plan and configuration, so confirm the current requirements in official Zendesk documentation before you design around them.
AI-assisted triage is worth evaluating too, particularly when your intake data is thin and keyword rules are doing too much work. Zendesk’s AI tools for intelligent triage and suggested macros explains where automated classification can strengthen routing decisions.
Routing also has to account for work that leaves the support team entirely. Requests needing engineering or finance input should follow a defined collaboration path rather than being reassigned into a queue nobody owns. Zendesk collaboration with side conversations, light agents, Slack, and Jira covers those handoffs.
Common Group Routing Mistakes to Avoid
- Too many groups. Thin queues go unwatched and tickets rot in them.
- No fallback group. Unmatched tickets end up unassigned and invisible.
- Routing on free-text fields. Values vary, conditions miss, and failures are silent.
- Ignoring trigger order. A general rule placed above a specific one overwrites correct assignments.
- Leaving old catch-all views live. Agents keep working the global queue and routing achieves nothing.
- Agents in too many groups. Group-based views stop filtering usefully.
- No owner for the triage queue. Someone must be accountable for clearing it daily.
- Never revisiting the rules. Product launches, reorganizations, and new channels all quietly break routing logic that once worked.
How to Measure and Refine Your Routing Over Time
Routing quality is measurable. Watch these signals:
- Reassignment rate. How often tickets change groups after initial assignment. Rising numbers point to rules that no longer match reality.
- Volume hitting the fallback group. A high or growing share means your conditions are missing common request types.
- Group-level first reply and resolution times. Reveals which queues are genuinely under-resourced.
- SLA breach concentration. Breaches clustered in one group usually indicate a coverage or capacity gap, not an agent performance issue.
- Backlog age by group. Shows which queue is quietly falling behind.
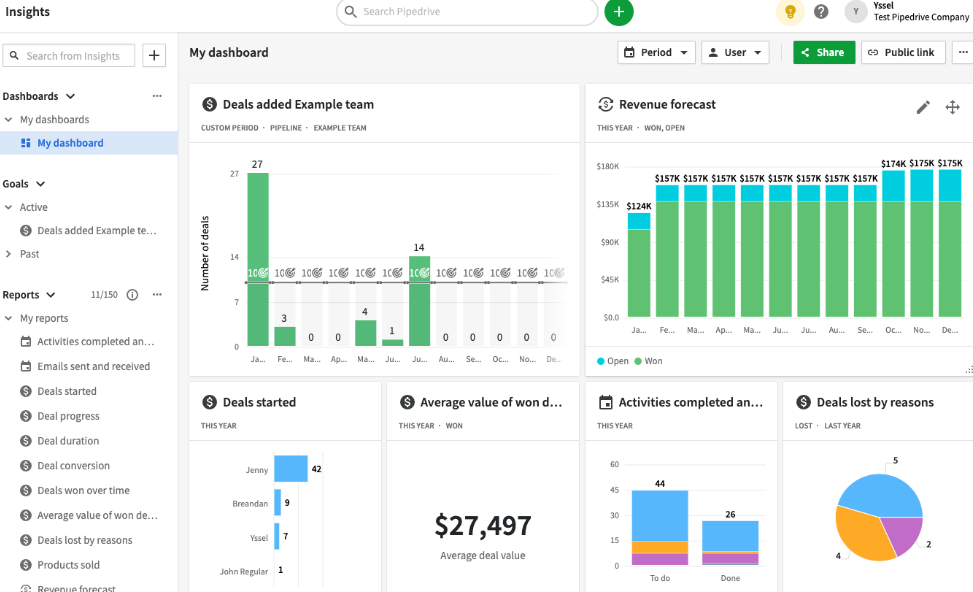
Build these into a routing review dashboard and check it monthly, with a deeper structural review each quarter. Zendesk Explore dashboard templates for CX, SLA, NPS, and deflection metrics gives you a reporting starting point rather than building from a blank canvas.
Get Expert Help Building Your Zendesk Routing Structure
Routing problems are rarely trigger problems. They are usually structural, and rebuilding groups in a live instance with years of accumulated rules, views, and SLA policies takes careful sequencing to avoid disrupting active tickets.
If you would rather not untangle it alone, our Zendesk consulting services cover routing architecture reviews, group and view redesign, trigger cleanup, SLA alignment, and escalation framework builds implemented in a way that keeps your team working throughout.
Talk to a Zendesk Specialist About Your Routing Setup
Every support operation has its own constraints: plan level, channel mix, team size, and coverage hours all shape what the right routing model looks like. A short conversation is usually enough to identify where your current structure is costing you time.
Contact the Zendesk Consulting team to review your setup and discuss the routing approach that fits how your team actually works.
Final Thoughts
Group-level ticket routing in Zendesk is a design decision before it is a configuration task. The teams that get it right start by defining how their work genuinely differs, put clean structured data in place to identify that difference, and only then write the triggers that act on it.
Do it in that order and routing becomes almost invisible. Tickets arrive where they belong, agents work queues they recognize, SLA targets reflect real effort, and escalations follow a path you can trace. Skip the planning and you get a maze of overlapping rules that nobody wants to touch. Start with your group model, keep it lean, always include a fallback, and revisit the whole system every quarter as your product and team change.