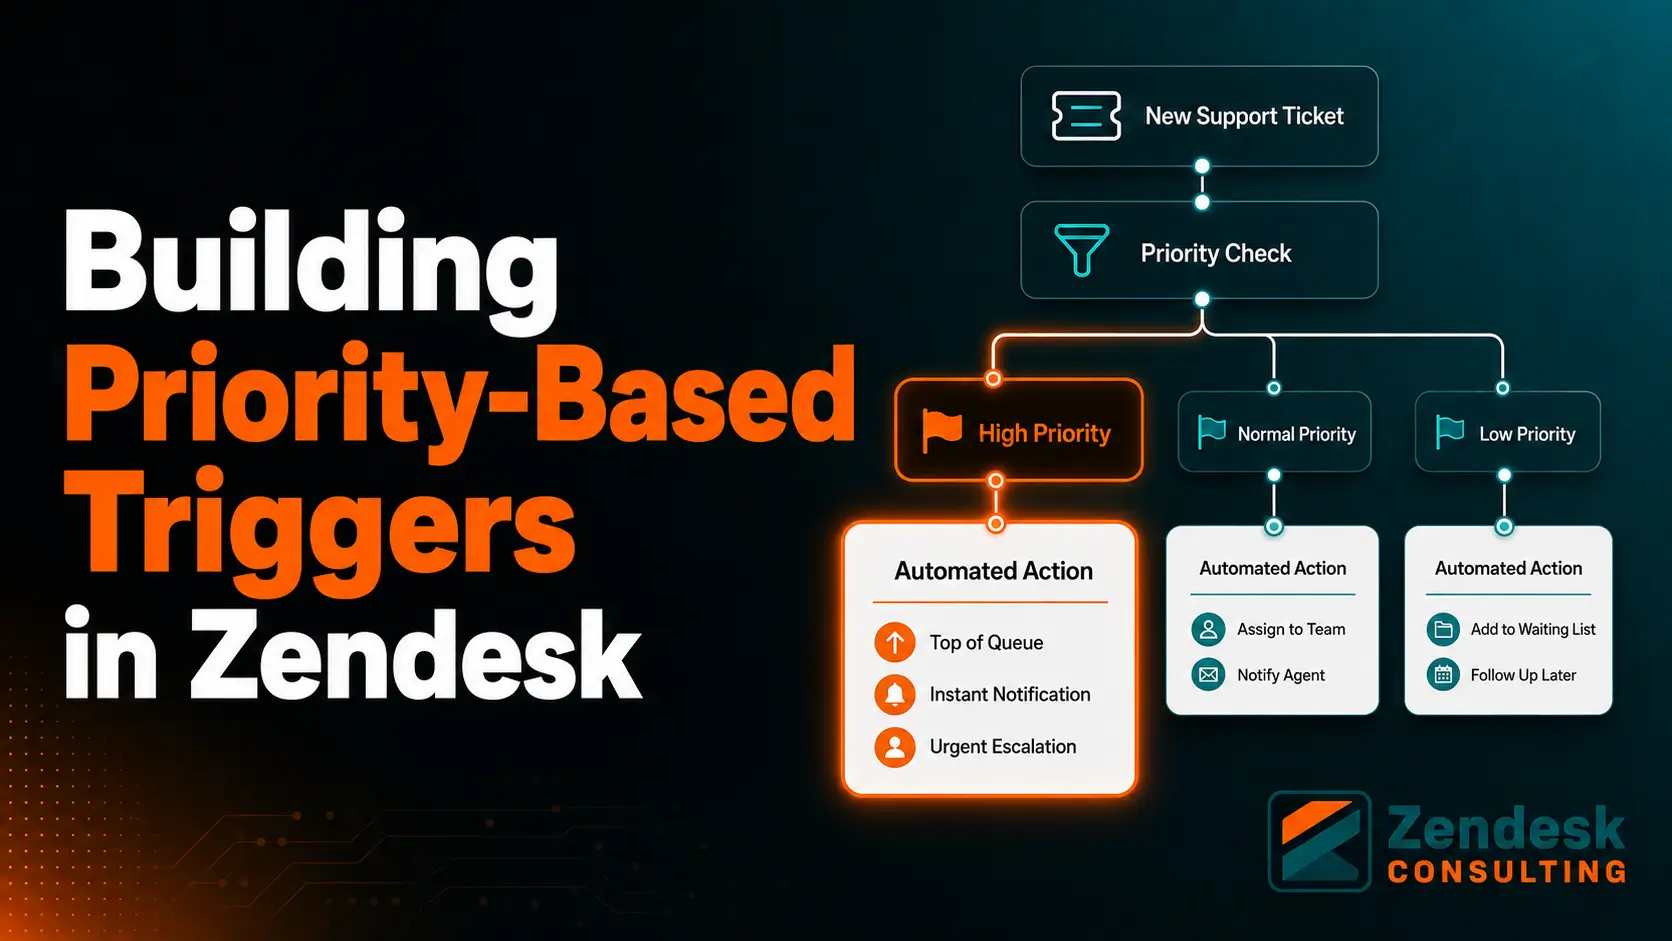
Key Takeaways:
- Priority-based triggers in Zendesk let you act on urgency automatically, so high-impact tickets get routed, flagged, and escalated the moment they arrive instead of waiting in a queue.
- Zendesk triggers run on ticket creation and update events, which makes them the right tool for real-time priority decisions and automations the wrong tool for time-based follow-ups.
- A working priority model needs clear, written definitions of Low, Normal, High, and Urgent before you build anything, or your triggers will encode inconsistency.
- Order matters: triggers fire top to bottom, so a poorly positioned trigger can overwrite the priority a previous one just set.
- Pair priority-based triggers with groups, SLA policies, and views so the priority you assign actually changes who sees the ticket and how fast they respond.
- Test every priority trigger in a sandbox with real ticket scenarios, then review firing patterns quarterly to catch rules that no longer match how your team works.
Support teams rarely fail because agents work too slowly. They fail because the wrong ticket sits at the top of the queue.
A password reset gets answered in four minutes while an enterprise customer reporting a payment outage waits two hours, because nothing in the system knows the difference. Building priority-based triggers in Zendesk solves that problem at the source by reading signals on every incoming ticket and setting urgency automatically.
This guide walks through what priority-based triggers are, how Zendesk evaluates them, how to define a priority model your team will actually follow, and how to build, test, and maintain the triggers themselves. You will also find realistic examples, the mistakes that break most implementations, and guidance on connecting priority to routing and SLA targets.

What Are Priority-Based Triggers in Zendesk?
Priority-based triggers in Zendesk are business rules that automatically set, change, or act on a ticket’s priority field based on conditions you define. A trigger checks conditions the instant a ticket is created or updated, and if those conditions match, it performs actions such as setting priority to Urgent, assigning the ticket to a group, adding a tag, or notifying a specific agent.
Zendesk ships with four priority values: Low, Normal, High, and Urgent. On their own, these values are just labels. They become useful when triggers set them consistently and when other parts of your instance, such as views, SLA policies, and routing rules, respond to them.
Two distinctions matter before you build anything. Triggers are event-based and fire only when a ticket is created or updated. Automations are time-based and run hourly against tickets that meet certain conditions. If you want to raise priority the moment a VIP customer emails you, that is a trigger. If you want to raise priority after a ticket sits unanswered for eight hours, that is an automation.
Why Priority-Based Triggers Matter for Support Teams
Manual prioritization does not scale. When agents set priority themselves, three people looking at the same ticket will choose three different values, and the queue stops reflecting real business impact. Triggers remove that judgment call for the cases you can define in advance.
The practical benefits are concrete:
- Faster response on high-impact issues. Urgent tickets surface in the right view immediately rather than after someone reads through the backlog.
- Consistency across shifts and regions. A ticket submitted at 3 a.m. gets the same treatment as one submitted at 10 a.m.
- Meaningful SLA measurement. SLA policies keyed to priority only produce trustworthy numbers when priority itself is applied consistently.
- Less agent overhead. Agents spend their attention on solving problems instead of triaging them.
- Cleaner reporting. Priority distribution becomes a real signal about your product and customer base rather than noise from inconsistent tagging.
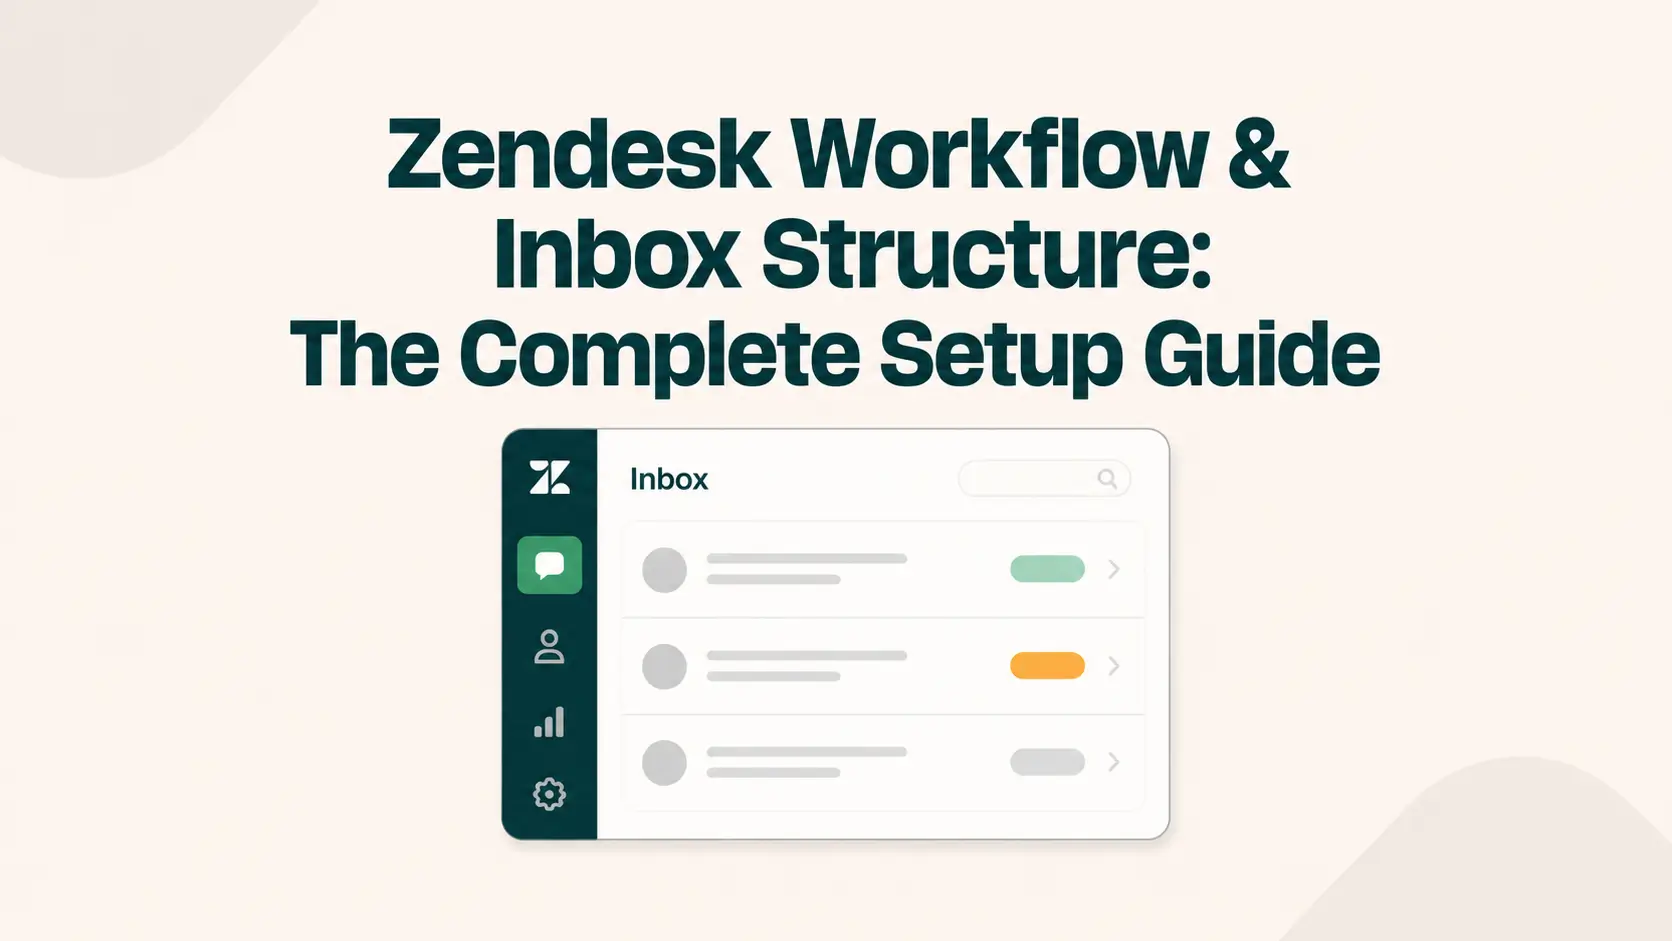
Priority triggers also sit at the center of a healthy workflow design. If your queues, groups, and views are not organized in the first place, priority alone will not fix the experience. Our Zendesk Workflow & Inbox Structure: The Complete Setup Guide covers the underlying structure that priority-based triggers depend on, and it is worth reading before or alongside this article.
How Priority-Based Triggers Work in Zendesk
Understanding the evaluation logic prevents most of the frustration people run into.
The Trigger Evaluation Cycle
When a ticket is created or updated, Zendesk runs through your active triggers in order from top to bottom. Each trigger’s conditions are checked against the ticket’s current state. If the conditions match, the actions run and the ticket state changes. Zendesk then repeats the cycle, because an action from one trigger can satisfy the conditions of another. This is why a trigger placed low in your list can silently overwrite a priority set higher up.
Conditions: Meet ALL vs Meet ANY
Every trigger has two condition blocks. Conditions under “Meet ALL of the following” must all be true. Conditions under “Meet ANY of the following” require at least one match. A common priority trigger uses ALL to lock the scope, such as ticket is created and channel is email, then uses ANY to list the signals that indicate urgency, such as several different organizations or ticket field values.
Actions That Support Prioritization
Setting priority is only one action available. Useful companions include assigning a group or agent, adding tags for reporting, setting a custom field, sending an internal notification, and applying a specific form. Tags are especially valuable because they let you report on why a ticket became Urgent, not just that it did.
How to Build Priority-Based Triggers in Zendesk Step by Step
Work through these steps in order. Skipping the first one causes most of the problems that appear later.
Step 1: Define What Each Priority Level Means
Write a short, plain-language definition for Low, Normal, High, and Urgent that references business impact rather than feeling. For example, Urgent might mean a customer cannot transact, a security concern is reported, or a contracted enterprise account has a service-affecting failure. Get agreement from support leadership and, where relevant, from account management. This document becomes the specification your triggers implement.
Step 2: Identify the Signals You Can Detect
Triggers can only act on data Zendesk has. Reliable signals include requester organization, organization tags, custom ticket fields chosen by the customer, ticket form, channel, subject or description text, brand, and group. If a signal you need does not exist yet, such as an account tier, add it as an organization tag or user field before building the trigger.
Step 3: Build the Trigger
In Admin Center, open Objects and rules, then Business rules, then Triggers. Create a new trigger and give it a name that states what it does, such as “Priority — Set Urgent for Enterprise Outage Reports.” Add your conditions, add the action to set priority, and add supporting actions such as a tag or group assignment. Save it.
Step 4: Set the Correct Position
Reorder your triggers so priority-setting rules run before triggers that depend on priority, such as notification or assignment rules. Keep all priority triggers grouped together in your list and use a consistent naming prefix so the group stays visible as your instance grows.
Step 5: Connect Priority to Routing and SLAs
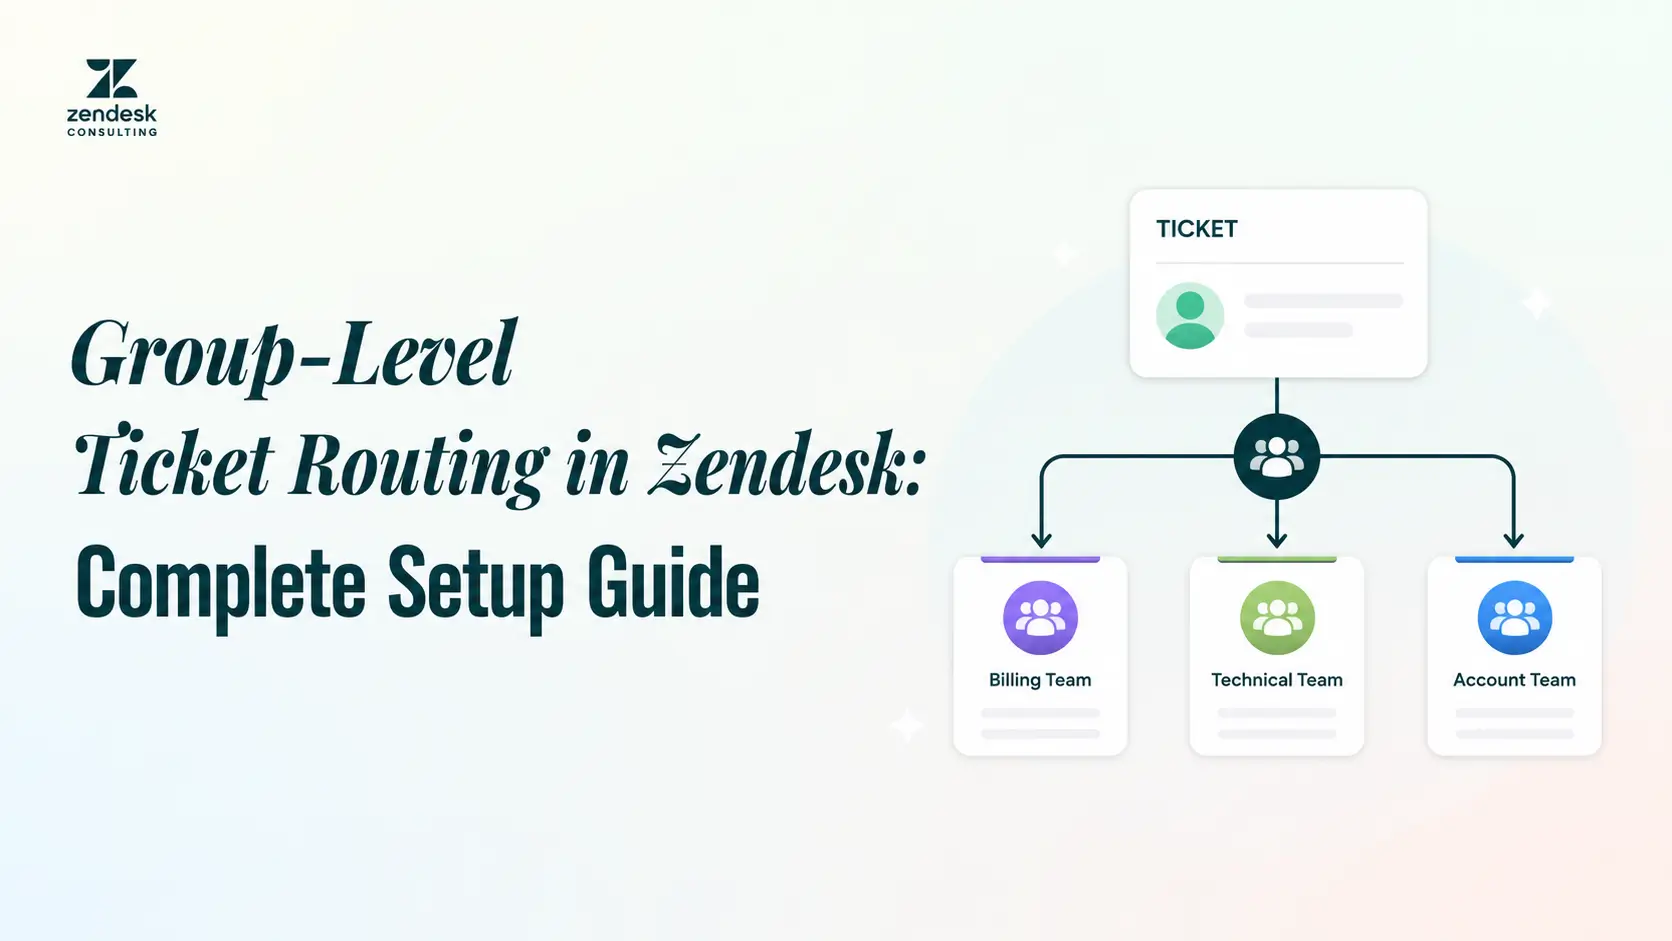
A priority value that nothing responds to is decoration. Create or update views filtered by priority, confirm your SLA policies target the priority levels you are now setting, and align group assignment with the teams that own each severity. If you route by team, our guide to Group-Level Ticket Routing in Zendesk explains how to structure that layer so priority and ownership work together.
Step 6: Document Everything
Record each trigger’s purpose, conditions, owner, and creation date in a shared document. Zendesk does not force documentation, and undocumented business rules become untouchable within a year because nobody remembers why they exist.
Practical Priority Trigger Examples You Can Model
These patterns cover the majority of real-world needs. Adapt the conditions to your own fields and tags.
Enterprise account escalation. Conditions: ticket is created, organization tag contains enterprise, and ticket field “Issue Type” is Service Disruption. Actions: set priority to Urgent, assign to Tier 2 group, add tag priority_auto_enterprise.
Billing and payment failures. Conditions: ticket is created and ticket form is Billing, with ANY matching subject text such as declined, chargeback, or double charged. Actions: set priority to High, assign to Billing group.
Security and data concerns. Conditions: ticket is created with ANY subject text containing breach, unauthorized access, or phishing. Actions: set priority to Urgent, notify the security escalation group, add tag security_review.
Reopened ticket bump. Conditions: ticket is updated, status changed from Solved to Open, and priority is not Urgent. Actions: set priority to High, add tag reopened_bump. Reopens signal an unresolved problem and deserve more attention than a fresh ticket.
Low-priority self-service candidates. Conditions: ticket is created and ticket field “Issue Type” is How-To Question. Actions: set priority to Low, add tag kb_candidate. Tickets tagged this way become your content roadmap; the approach is covered in our post on Zendesk Knowledge Base Setup.
If you want intent detection rather than keyword matching, Zendesk’s native AI features can classify tickets before your triggers evaluate them. Our overview of Zendesk’s AI Tools: Intelligent Triage and Suggested Macros explains how that classification data becomes a trigger condition.
Common Mistakes to Avoid When Building Priority-Based Triggers
- Treating everything as urgent. If more than a small share of your volume lands at Urgent, the label stops directing attention. Review your distribution monthly.
- Ignoring trigger order. A generic “set Normal priority on all new tickets” rule placed below your Urgent rules will quietly undo them.
- Using text matching as the only signal. Keyword conditions catch obvious phrasing and miss everything else. Prefer structured fields and organization tags where possible, and use text as a supplement.
- Building triggers with no owner. Rules created by a departed admin accumulate until nobody dares change anything.
- Letting triggers fight automations. If a trigger sets High and an hourly automation resets it, tickets will flip back and forth. Map both rule types together.
- Forgetting the customer-facing side. Raising priority internally without any acknowledgement to the customer creates silence during the exact moments that matter most.
- Skipping the escalation path. Priority tells you a ticket is serious. It does not tell anyone what to do next. Pair it with a documented escalation process, such as the model in our guide to Build an Escalation Framework Inside Zendesk.
Get Expert Help Designing Your Zendesk Priority Model
Priority logic looks simple in a single trigger and gets complicated fast across multiple brands, account tiers, channels, and SLA commitments. If your current setup produces inconsistent queues or SLA numbers you do not trust, a structured review usually finds the conflict quickly. Explore our Zendesk consulting services to see how we audit business rules, redesign priority frameworks, and document the result so your team can maintain it without outside help.
How to Test, Measure, and Maintain Your Priority Triggers
Build in a sandbox first if your plan includes one. Create test tickets that represent each priority scenario, including the edge cases you expect to be rare, and confirm the resulting priority, group, and tags match your intent. Use the ticket events log on each test ticket to see exactly which triggers fired and in what order. That log is the fastest way to diagnose an overwrite.
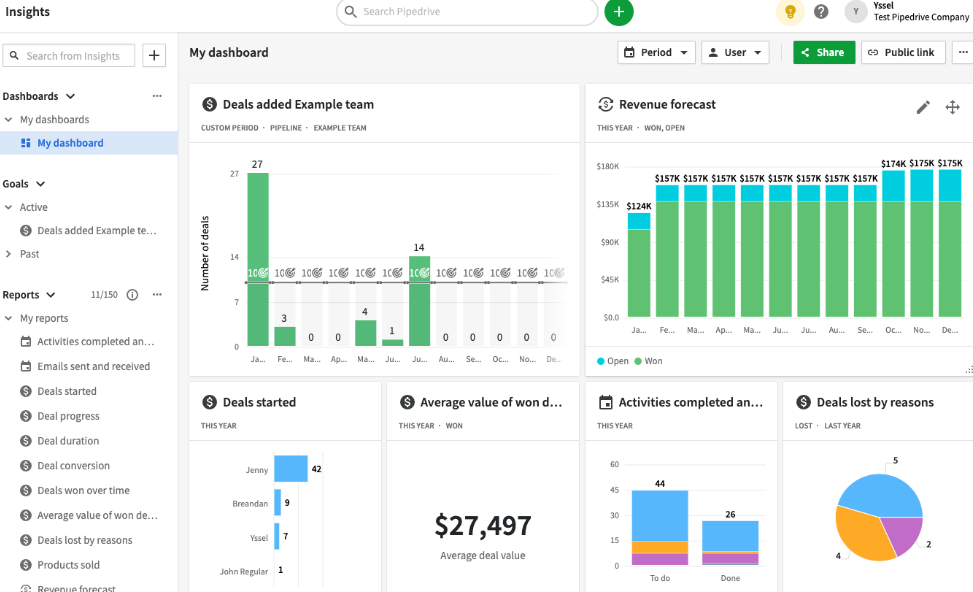
Once live, measure rather than assume. Watch the distribution of tickets across the four priority levels, first response time by priority, SLA attainment by priority, and how often agents manually change a priority your triggers set. Frequent manual overrides are the clearest signal that your definitions do not match reality. Reporting dashboards make this visible, and our post on Zendesk Explore Dashboard Templates for CX, SLA, NPS, and Deflection Metrics covers structuring those views.
Schedule a quarterly review. Deactivate rather than delete triggers you suspect are obsolete, so you can restore them if something breaks. Revisit your priority definitions whenever you launch a product, add a customer segment, or change your support tiers, and pair the review with customer feedback signals such as CSAT and NPS survey results to confirm your urgency model reflects what customers actually experience.
Talk to a Zendesk Consultant About Your Trigger Setup
If you would rather validate your approach before rolling changes into production, contact our team with a short description of your current priority setup and the problems you are seeing. We will review your business rules and outline the practical next steps for your instance.
Bottom Line
Building priority-based triggers in Zendesk is less about configuration and more about decisions. The technical work of creating a trigger takes minutes. Agreeing on what Urgent means, identifying signals your system can detect, ordering your rules so they cooperate, and connecting priority to routing and SLA policies is where the real value sits.
Start narrow. Pick the two or three scenarios where a delayed response causes genuine damage, build clean triggers for those, verify them with real ticket tests, and expand from there. A small set of well-understood priority triggers will serve your team far better than dozens of overlapping rules nobody can explain.